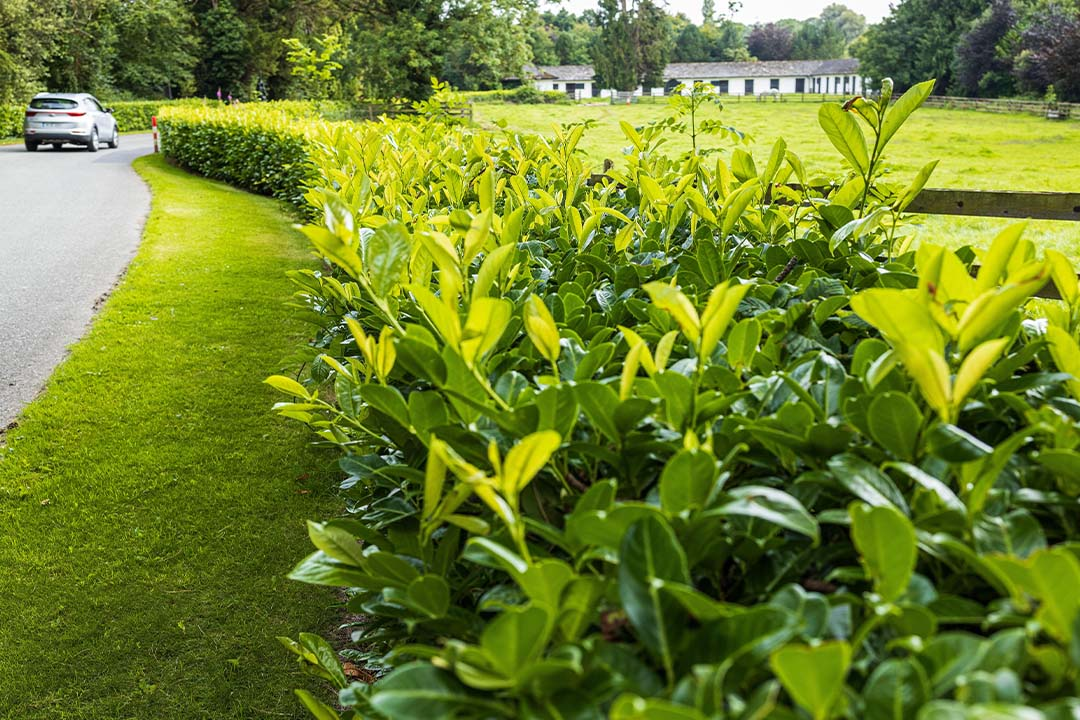
Choosing a laurel variety for your hedging is a no-brainer. Laurel hedging is evergreen, hardy, excellent for privacy, suitable for difficult clay soils, low maintenance, and beautiful when it blossoms. However, learning how to plant laurel hedging may be a different story, especially if this is your first hedge.
This guide, written by our horticulturalists at Gardeners Dream, will take you through how to successfully (and easily) plant any of our popular laurel hedging options in just four steps.
First, when do you plant laurel hedging?
When to plant a laurel hedge depends on the type of laurel you're planting. Potted plants can be planted year-round; make sure to avoid excessively hot or dry periods (late spring, early summer, and early autumn are popular times).
For bare-root laurel hedge planting or rootballed laurel plants, you must plant either in late autumn or very early spring. This is for a few reasons:
- Laurel hedge plants should be planted outside of their growing season.
- The temperature and weather should be cool but not freezing.
- Ground moisture levels are typically optimum at this time of the year.
- The mild conditions in general reduce stress on the plant, ensuring it can establish well.
Gardeners Dream Tip:
As well as having lush dark green leaves, many of the laurel family provide blossom in the spring and summer. So, it's always good to have your hedge firmly established before then to ensure the hedge is growing healthy and can provide a lovely floral display.
Other aspects to consider
Knowing when to plant a laurel hedge is just one aspect that you need to consider. Think about:
- Full sun is best for laurel shrubs, but they can also handle partial shade.
- Laurel plants grow in the most fertile, good-quality soil types, including heavy clay, but they must have good drainage.
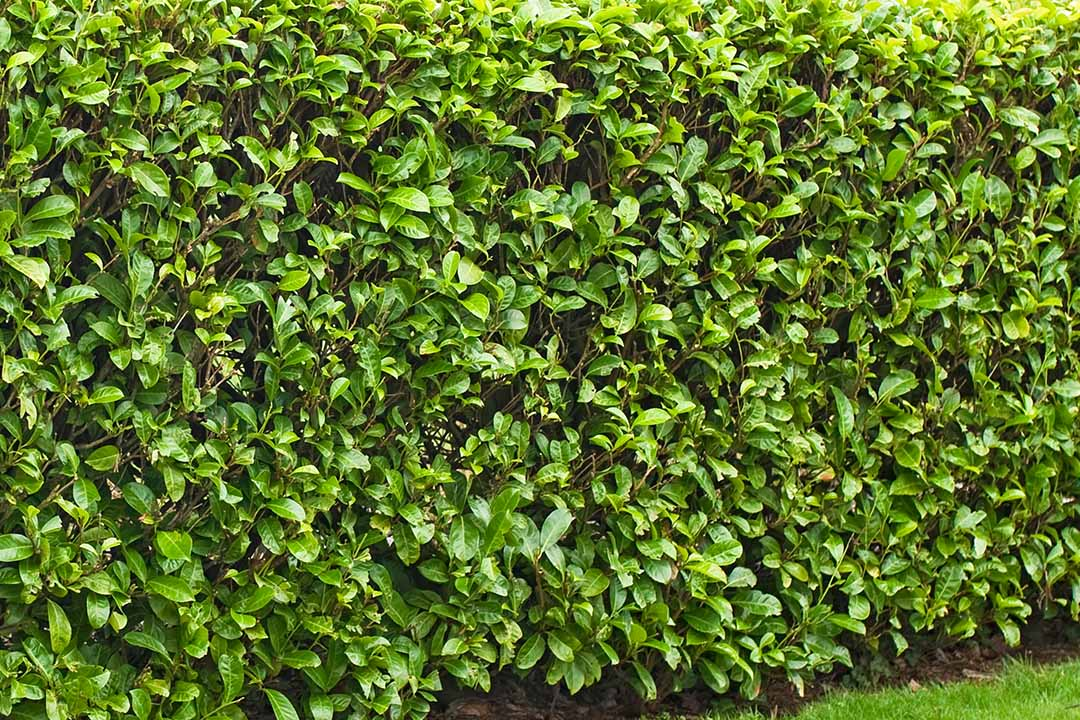
- Almost all the plants in the laurel family are moderate or fast-growing, so you can expect a minimum of 30cm growth per year.
- Laurel hedge plants usually take two to three years to establish fully.
- You may struggle with planting laurel hedging in excessively windy locations.
This may mean rethinking your decision to plant a laurel hedge - you might need to switch locations or try other varieties of hedging plants. You can find more hedge plant options at Gardeners Dream, with free delivery over £50 as standard.
Choosing tools, gathering materials and starting prep
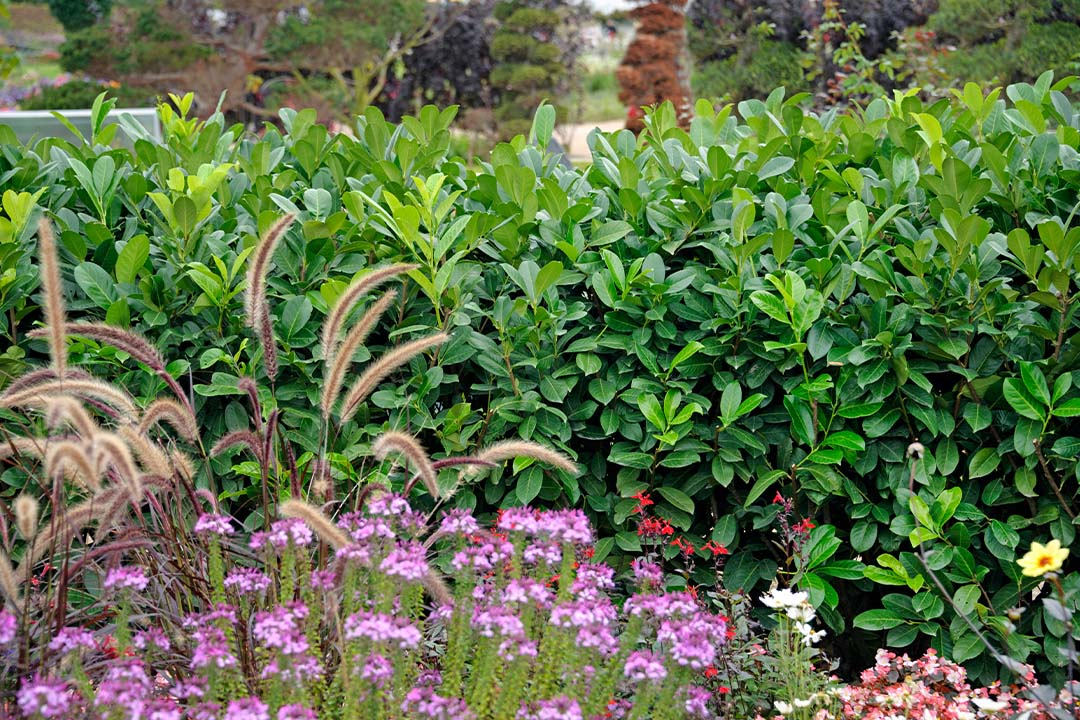
Once you've decided to plant a laurel hedge, your first task is choosing a variety from a reputable, UK-based nursery. At Gardeners Dream, our most popular types of laurel are the Prunus rotundifolia Cherry Laurel, which is the hardiest variety, and the Prunus lusitanica Portuguese Laurel. The latter is known for providing great cover and small white flowers around June. Check out our Portuguese Laurel to learn more.
How many plants you should order depends on their size and your desired hedge. As a general rule, you need one plant every 60cm to 90cm. The bigger your plants are, the further they should be spaced (see the importance of air pockets below). Additionally, the taller you want your hedge, the further apart you should space the plants. As Laurel creates a naturally dense hedge, you don't need to plant a double row.
Next, you'll need materials to prepare the ground. While you can fertilise after planting, your hedge will grow best if established in fertile soil. So, have manure, compost or slow-release fertiliser ready to work into the trench you dig.
You will also need to plan time to weed the hedge area before planting. If you want to use a weed killer, schedule this a few weeks before you even receive your laurel hedge plants. This will ensure any active ingredients have passed before you plant your hedging plants.
Finally, tools. To get your hedge plants in the ground, you will need:
- String and stakes to ensure you plant in a straight line.
- Garden fork and spade.
- Wooden stakes for securing the plants.
How to plant laurel hedging step by step
From how far apart to plant laurel hedging to how deep to plant laurel hedging, follow these four steps to have all your questions answered.
1. Digging and spacing laurel hedging plants
If you haven't cleared the ground or applied products to suppress weeds, you'll need to weed the area now manually. Once it is clear, mark out the path of your hedge with stakes and string to ensure a neat, straight line.
Using the garden spade, dig a trench that's twice as wide as the root ball of the plant and slightly deeper. Digging a trench is usually preferable over individual holes, giving you more room to situate your laurel hedge plants.
Using your garden fork, work a little organic compost or slow-release fertiliser into the sides and base of the trench. This fertilises the soil and also breaks up the walls and base, preventing the soil from becoming compact. This is crucial for ensuring good drainage!
Lastly, mark out your spacing. This is typically one plant every two to three feet or 60cm to 90cm.
2. Planting laurel hedging
When planting a laurel hedge from bare-root laurels, you'll need to soak the roots of each plant in a bucket of water for just a couple of hours (any longer, and you'll risk root rot). You can learn more about the importance of this in our guide, 'How to plant bare root hedging'.
Place each plant in the marked trench at regular intervals. Gently spread the roots as you place them in the soil. The top of the root ball should be roughly level with the ground surface level.
If your plants are over 1.2 metres tall at the time of planting, or you live in a very windy location, now is the time to add a stake. Installing a wooden stake now ensures that you can avoid piercing the root system. Just add your wooden stake at a slight angle, leaning into the wind so any strong winds push the stake further into the ground.
3. Covering and mulching
Fill the trench with soil over and around the root system of each laurel hedge plant. Gently heel the soil in, pressing firmly but not compacting it down. Next, water thoroughly. You really want to drench the soil and ensure that water reaches down to the roots.
With the laurel hedge watered, you can apply mulch on the surface. Aim for up to three inches of mulch at the base of each plant. If you have leaf mulch available, you can use that. Otherwise, bark or wood chips are a good option. Once you have a mature hedge, you can even use any collected fallen/pruned Laurel leaves as an organic mulch each year.
4. Ongoing laurel hedge maintenance
With your laurel hedges planted, the last step is ongoing maintenance.
Continue to water the laurel hedge consistently and deeply for the first year. Give the laurel plants a good, long drink either in the morning or evening, once or twice a week. The key is to water enough to drench the soil down to the root level, but don't make the soil waterlogged. Use a garden house with a spray nozzle and aim at the base of each plant and surrounding soil.
Checking regularly for pests and diseases is crucial in that first year. Laurel hedge plants, including cherry laurel and common laurel, can be affected by powdery mildew. Treat diseases as soon as you spot them, and prune away dead or damaged branches annually.
Care tips from horticulturalists
Our horticulturalists know a thing or two about how to plant laurel hedging! So, here are some of their extra expert tips to ensure your new laurel hedge is a success.
First, make sure your soil quality is good. Having good soil with all the essential nutrients before planting a laurel hedge will ensure you get healthy, fast growth from the start. While fertilising later can encourage faster growth, starting off with fertile soil is the most effective way to encourage a well-established root structure for a fast-growing new hedge.
Next, follow spacing advice carefully. Cherry laurel hedging, for example, is planted two to three feet apart. Planting too close together will restrict airflow and prevent light from reaching all sides of the plant. This will hamper the young plants' growth ability in that first year.
When you need to fertilise your laurel hedging plants, choose a slow-release fertiliser and apply it in spring. Laurel hedges like a balanced fertiliser with a 10-10-10 formula. You can also mulch more organic compost around the base of the plant.
Finally, pruning. Our horticulturalists recommend an annual prune in late winter to remove dead and damaged branches, plus give your laurel hedge a tidy-up. Use hedge trimmers for a quick job or secateurs to snip branches without damaging leaves. Those damaged leaves turn brown and drop off, which may look unappealing, but a good prune will actually stimulate growth, so don't hold back!
FAQs
How far apart to plant laurel hedging?
The individual plants in laurel hedges are typically planted two to three feet apart. The closer you place laurel plants, the denser your hedge will get in those first few years. However, for a tall laurel hedge, plant further apart to give each laurel plant space to shoot up to your desired height.
How deep to plant laurel hedging?
The depth at which you plant a laurel hedge depends on the size of your laurel plants. The trench or hole you dig should be slightly deeper than the roots of the laurel hedge plants.
How tall does laurel hedging grow?
Laurel plants typically grow at a rate of 30cm+ per year, and some varieties can reach heights of 20 feet (7 metres) when planted, fertilised, and pruned for growth. Check the variety of laurel plants to find out their maximum growth height.
When do you plant laurel hedging?
Planting bare root laurel should occur in the late autumn or very early spring when the evergreen hedge is not in its growing season. You should aim to have your newly planted hedge in the ground before the new leaves and blossoms arrive.